Saturday, July 4, 2020

What the F-F-F-Floor Pans?!?!

What the F-F-F-Floor Pans?!?!

Here we are in July. It's been months since I posted and I've been hard at work 6 days a week on the car. I decided to stop posting tear down entries only. I wanted to show some finished work with the tear downs. The problem? I need the lower control arms. Without them there's no point in putting anything steering or suspension back together. 

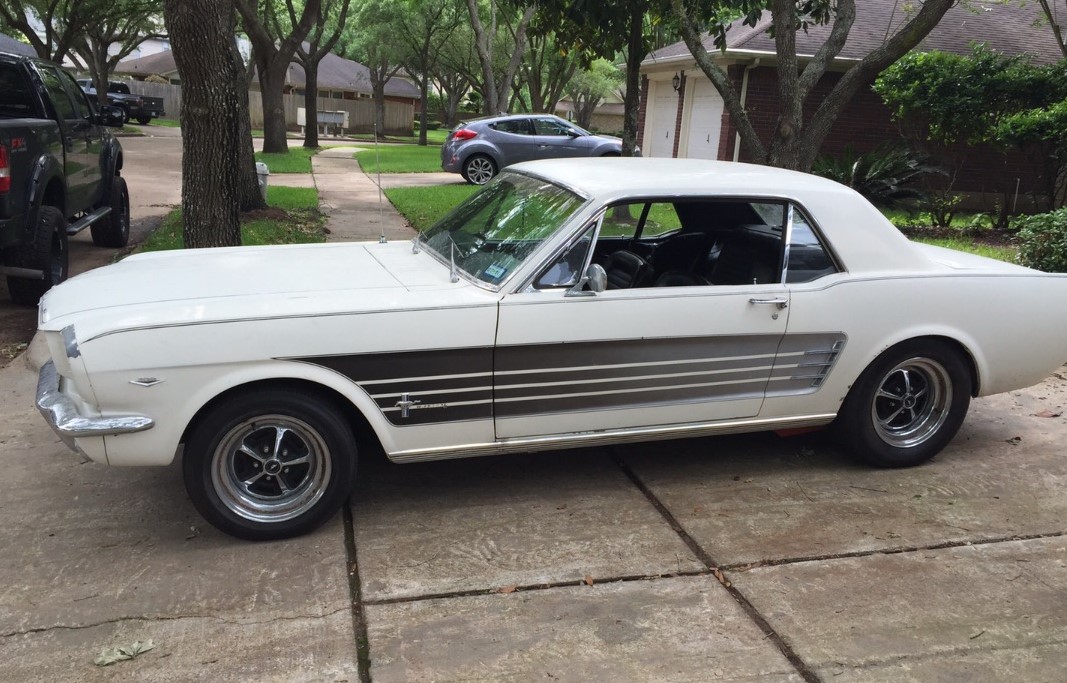
So, I decided to start work on the floor pans. Back when Rob first bought the car he told me they were rusted out. You can feel the breeze around your feet when you drive the car. Here we see the driver side from underneath the car.


The passenger side looked like corrugate tin hammered flat and shoved between the old pan and the sub-frame connector. Turns out it was just cut up floor pan shoved in there. I cut them up to get them out. I'm not sure what they were there for actually. Maybe so whoever installed them could say they were installed?


Elliot and I removed the interior of the car. Here's the WTF moment you've been waiting for.... The floor pans are perfect (mostly). A nice fresh coat of paint that was put on when the body was done! What?

Notice under the pedals the two holes? Those are from the self tapping screws I pulled out. There were 6 on each panel. OK then, somebody just put new panels over the old ones and held them in place with self tappers. Right. I'd cut the old ones out, but you can do this. What went wrong?

 What you can see is a bead of sealer about 1/4" thick. Where it is white it wasn't making contact with the new pan. Black.brown is where it was making contact. Basically - the pan wasn't making contact on two sides. The passenger side was worse since they had used several pieces to get all the way to the firewall.


The drain plugs are in upside down and weren't painted so they rusted like crazy. Wonderful.


I had no real welding experience, and never did any metal work. We took a couple weeks and read/watched and practiced. It's possible that the left side floor pans were done twice. It was easy to get the repo panels. I also may have learned how the seats from the 2005 Mustang fit after they floors were done and had to cut stuff back out. I did put in the lowered seat mounts so the seats fit. Also had to fabricate where the seats attach to the front slop of the mount instead of the top. No big deal. It was a fun learning this stuff and gave me confidence to try all sorts of things auto related or not.

I was apprehensive about my ability to weld the new metal in securely. Duane Myers encouragement helped here. He had talked to me about just doing what the previous guys had done and not worry about it. What I figured was I couldn't do any worse than what had been done. I have some 3 point seat belts and they are safety rated and use pop rivets in places. I settled on pop rivets to hold the metal in place while we spot welded it every inch or so.

Cut to a month later and we have new floor pans!
And 1" lower seat mounts. I'll go into detail on the new seats later. They are great!
These pictures are before I used auto body sealer inside and out to make sure there are no leaks. 

Saturday, April 4, 2020

Disc Brakes & Power Steering - The initial Tear Down

Once late January 2020 came I'm ready to work on the '66 again, having completed a long list of things for my '69 Mach I. 

The plan was to tackle the conversion of the front drum brakes to disc and add a two bowl master cylinder with a proportioning valve. A nice safety enhancement. All this comes in a nice kit that I ordered from CJ Pony Parts.  As much stuff as I've bought over the years for the Mustangs they must think I'm some sort of restoration shop. Anyway, what I ordered is here.

While I had the master cylinder and brakes lines out it made sense to put in the power steering kit at the same time. The power steering kit requires a new clutch z-bar. I also need the z-bar bushing kit, but I wouldn't realize that until a couple of weeks later when I finally figured out how to get the z-bar out.

All this seemed like a bit of a challenge but nothing new to me. And let the fun begin!

Removed the front brake drums by taking out the outer bearings. The brake drums are pressed onto the race (or should be - not so much on the right side for me) and you can't just pull the drums off like you can on the rear.
Unbolt the backing plate from the spindle and disconnect the brake line, which is stripped or will strip, I promise. I think the fittings are brass. Channellock pliers work great here when it does strip. I'm replacing them so who cares?

All that crap in the drip pan.....is mud and grease we scraped off the ball joints ... and now this is a restoration. All the ball joints are crap, the steering tie rods are missing the rubber boots in places. Great. Damn. I'm rebuilding yet another front end and I didn't expect it needed it from how it drove. 


I really didn't want to tear this car apart. I did that to my '73 17 years ago and it's still apart. Oh well. Off we go. I figured might as well go all in and just get this done. I knew we had to take the interior apart to get at the floor pans anyway. 

The fun part of removing the old manual steering box is you have to cut the steering shaft unless you remove the engine. I'm about to make a really good new friend....

First we removed the master cylinder so there was plenty of room to get at the steering shaft. The trick here was that the brake push rod is not coming out of the old single bowl master cylinder. We had to disconnect it from the inside at the brake pedal. There is a trick to getting the stupid clip off that holds it. My method was destroy the damn thing. It will just pop up but the one here was broken and when I popped it up many pieces fell down. 

The rubber boot you see in the picture is the clutch bar and the steering shaft is already cut just to the left of that. My new friend is a Dewalt angle grinder with cutoff wheel. It took 30 seconds to cut the shaft with this thing. Incredible. I've only used that tool for grinding before now. I was missing out on some serious fun.

Everything is out for the initial job. Time to order all the suspension and steering parts. BUT WAIT! Car parts are made in what country? You know the one that was the first to get COVID-19? Yes, China. Getting parts during a pandemic will be fun!


Tuesday, March 31, 2020

Engine - Initial Work


I started work on the car in November 2019. I was expecting this to go quick so the initial activity has very few pictures. My plan was to tackle a couple things at a time and not go all in with tearing down the interior, brakes, etc. that I had planned. I did that on my '73 Mach I and 17 years later it's still in pieces.

First thing - I was worried about burning oil. For an engine with 12K miles on it - that just shouldn't happen. There was also the exhaust leak in the #7 and #8 cylinder area. I wondered if they were related. That could be a burned valve and things get expensive there. Additionally on the receipt for the long block was written "Better Business Bureau - <Phone Number>". yikes!

Lets take a look at the engine compartment that I've marked up with things that bothered me. Click on the picture to enlarge.

The biggest thing is that somebody used red wires for everything they did. This should be fun to figure out. (Spoiler - it wasn't). Would some of this wiring be why the brakes and turn signals don't work?


Burning Oil Hunt

The #7 plug was black and the rest were white when I took them out. I did a compression test on all cylinders and they were great. Used a bore camera and looked at the cylinders and everything looks great. Based on the #7 plug color I figured something is up there. Eli from Luxury Automotive suggested run some Seafoam (tm) through the engine and put some miles on it. Maybe there's something gumming up the gap between the piston rings. He was right.

I put some copper crush header gaskets on when I buttoned up the engine and exhaust leak is fixed!

Brake Lights and Turn Signals

Note red wires going to the gauge three pack
On these Mustangs the brake lights run through the turn signal switch. If that's messed up nothing works. Tested it and it seems ok. Tested the Headlight switch and it seems ok. Found out that when the brakes are applied the whole circuit grounds out. Was going to put LED brake lights in so went ahead and did that cleaning up the wiring in the trunk. Didn't help

Must be the brake light switch...and there is a splice of a wire upstream of the switch. Great place to splice a wire. So where did that wire go? Nowhere. It was grounding out on the steering column. Brakes fixed! Turn signals - turn on but don't flash. Decided to blow that off until later. The red wires on the gauge 3 pack were intertwined with the flasher controllers.

Drive Time!

I drove the car a bunch the rest of the year (while I worked on the '69 Mach I). It has no play in the steering, runs and drives great, and is just plain fun. I've always owned the muscle car Mustangs. I'm understanding the attraction of these!

Monday, March 30, 2020


1966 Mustang 

This is NOT a restoration! 


I bought this '66 coupe from a friend of mine for my son's first car. I have some improvements in mind for safety, comfort, and drive-ability that can bring the car up to a daily driver status. My intention is to do the things needed and not turn this into a restoration! (spoiler alert - yeah, right) I wanted to share all this since we are all stuck at home due to COVID-19 when I made this page and worked on the car.

Interior. Note my sneaky Challenger photo bombing...

The Car

Car seems to be a base model V-8. 
  • 289 CI engine
  • 3 speed manual transmission
  • Manual steering
  • 4 wheel, manual brakes
  • Single bowl master cylinder
  • No AC
  • Bench front seat

Based on receipts that came with the car it was restored in 2012. It has less than 13,000 miles on it since. New long block, interior work, routine maintenance for this type of overhaul. It was kept very original. Other than the problem with the seat upholstery and floor pans (lost more on that later) the interior is great.

Engine has an aluminum radiator, electric fan, headers, and a very new alternator. There's something draining the battery if the car sits for a few days. 

Initial Improvement & Repair List

Missing paint on front and sneaky Challenger again...
I'm a resto mod kind of guy. Before my son is going to drive this car there's some things that need to be done.
  • Front Disc brakes
  • Dual bowl master cylinder with a proportioning valve
  • Power Steering
  • AC
  • High back seats (add headrests? or ditch the bench seat?)
  • New seat belts. The current lap belt only isn't good enough.
  • The front floor pans are rusted through and need replacement.
  • Paint - car sat under a tree or something and has little spots of rust here and there. Nothing serious, but getting painted.
  • Wheels - 15" Magnum 500's with rust spots. I will get those refinished and put them on my '69 Mach I. I have something else to use on this car that I will share later.

Additional things we learned after driving the car

  • Exhaust leak on the left side of the engine.
  • Burning a little bit of oil.
  • Brake lights and turn signals don't work.